White Paper: Working with Difficult Photos in DAZ Studio
There are now at least three software applications that turn a portrait photo into a 3D character in DAZ Studio. What these software applications have in common is that they apply the shape changes that a custom character causes to the base Genesis figures (morphing) and also apply texture from the photo to the 3D head (texture mapping).
With that said, all three use different methods to achieve this goal and with various grades of success. This paper attempts to examine the challenges presented by “difficult” photos.
What is a “Difficult Photo”?
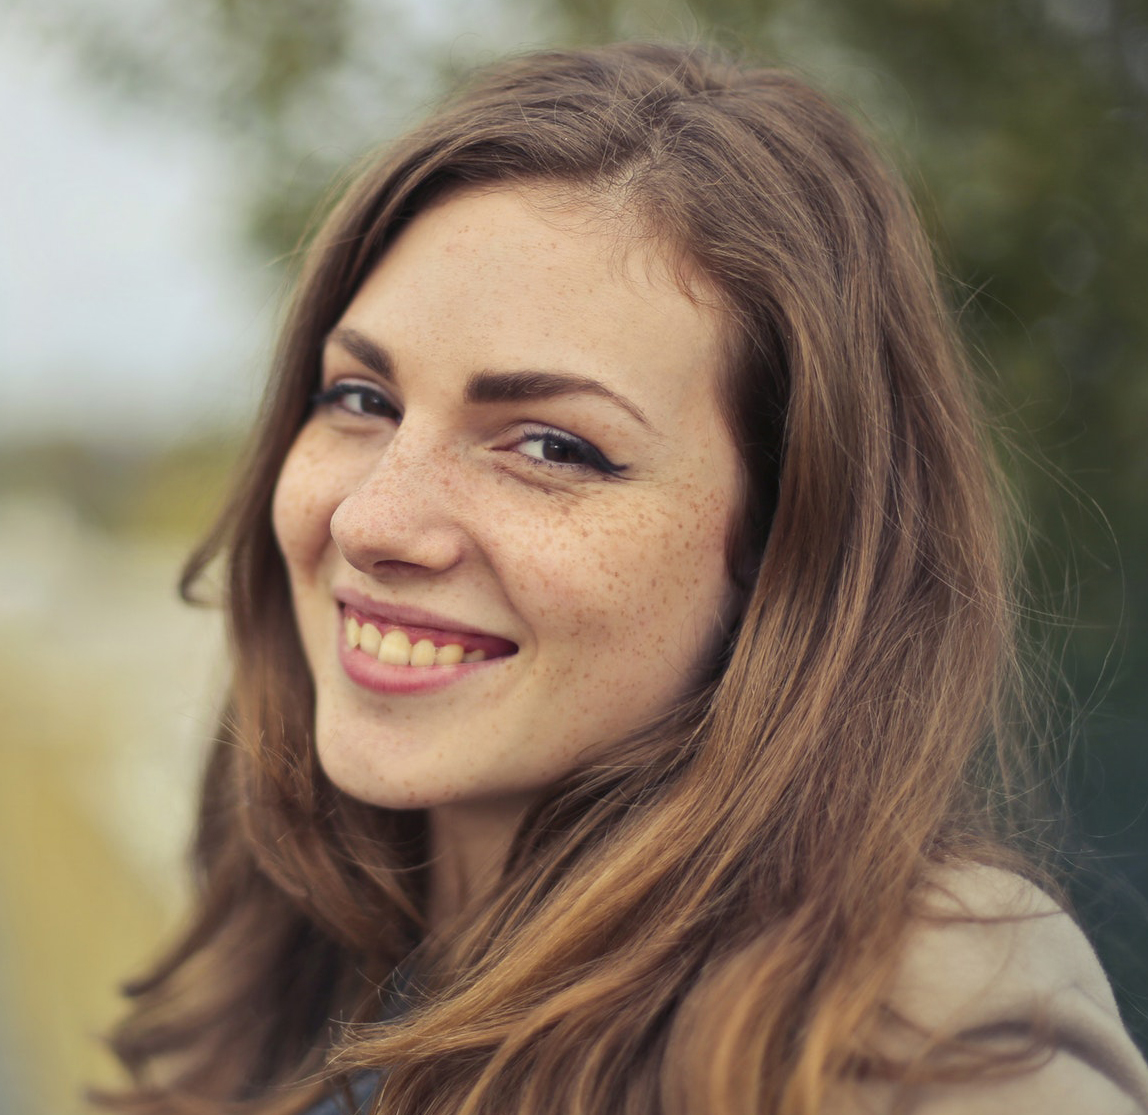
All three can handle frontal and unsmiling photos relatively easily. Unfortunately, the majority of photos are not straight-on “mugshots” but photos where the face is partially rotated at least in one axes. The majority of photos also tend to have an “open smile” with teeth showing. (see Picture 1 below).

Here is a schematic of these challenges (Picture 2):
Any “Photo-to-3D Head” software thus needs to perform a few additional tasks if it wants to succeed:
- Establish rotation angle/degree and direction, create a new and uniform shape and then rotate the 3D mesh back to frontal.
- Also detect if a photo represents close lips or an open smile. The method to do so is to deploy an automatic “facial feature detection” algorithm that find several dozen significant points in a photo that represent eyes, nose, mouth, etc. By comparing these point sets the software needs to “decide” if there is an open smile present or not.
Once the 3D head is rotated back to frontal with the corrected shape, the texture mapping can take place. This represents a further challenge; Since part of the texture is turned away and not visible, a method needs to be found to replace or repair missing texture.
Compare Results of Shaping Heads based on a Difficult Photo.
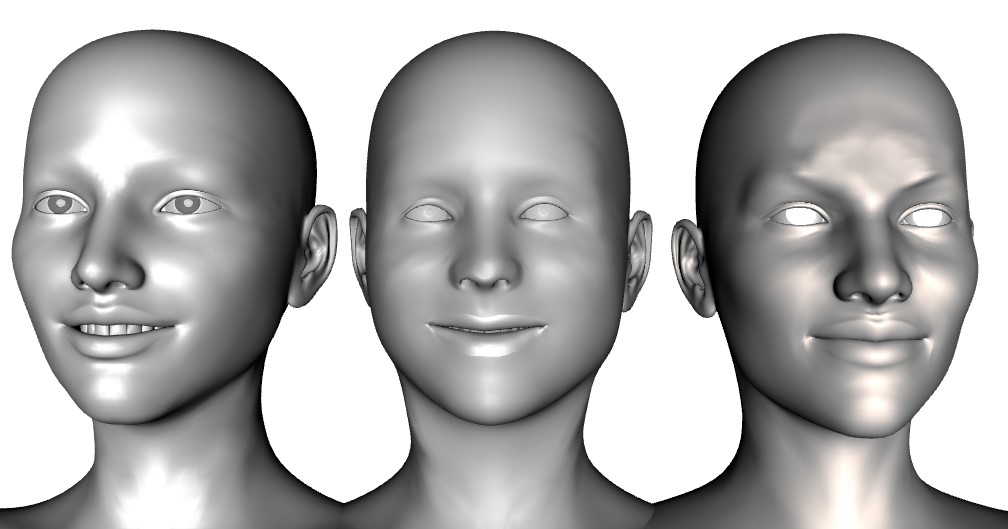
Below you can observe three samples on how the various software performed with the same photo. As is obvious, they achieved various degrees of success in capturing the shape of the head.
The first head on the left captured both the shape of the head and the open smile well. The head on the middle did a poor job in capturing the shape but recognized the open smile. The head on the right did a good job in re-creating the shape of the head but was not built to recognize or display an open smile with teeth showing (see Picture 3 below).
What About Texture Mapping?
Here the three compared software applications also showed differences.
The head on the left captured and applied texture correctly. The middle head also did a decent job of applying the texture but missed on the overall hue. It also captured some artifacts like the remnant of the hair. The head on the left did poorly, since it “painted” teeth on the lower closed lip. Otherwise it did capture texture and hue nicely albeit did poorly in filling in missing texture to the left of the nose.
Overall Conclusion
Our goal was not to judge performance, but rather to explain why different software processes produce different results. As we said above, with simple, straight and unsmiling photos at least two of the three software performed well, so anyone who can replace challenging (rotated+smiling) photos can do so and get good results.
Resource photo to run your own test:


